
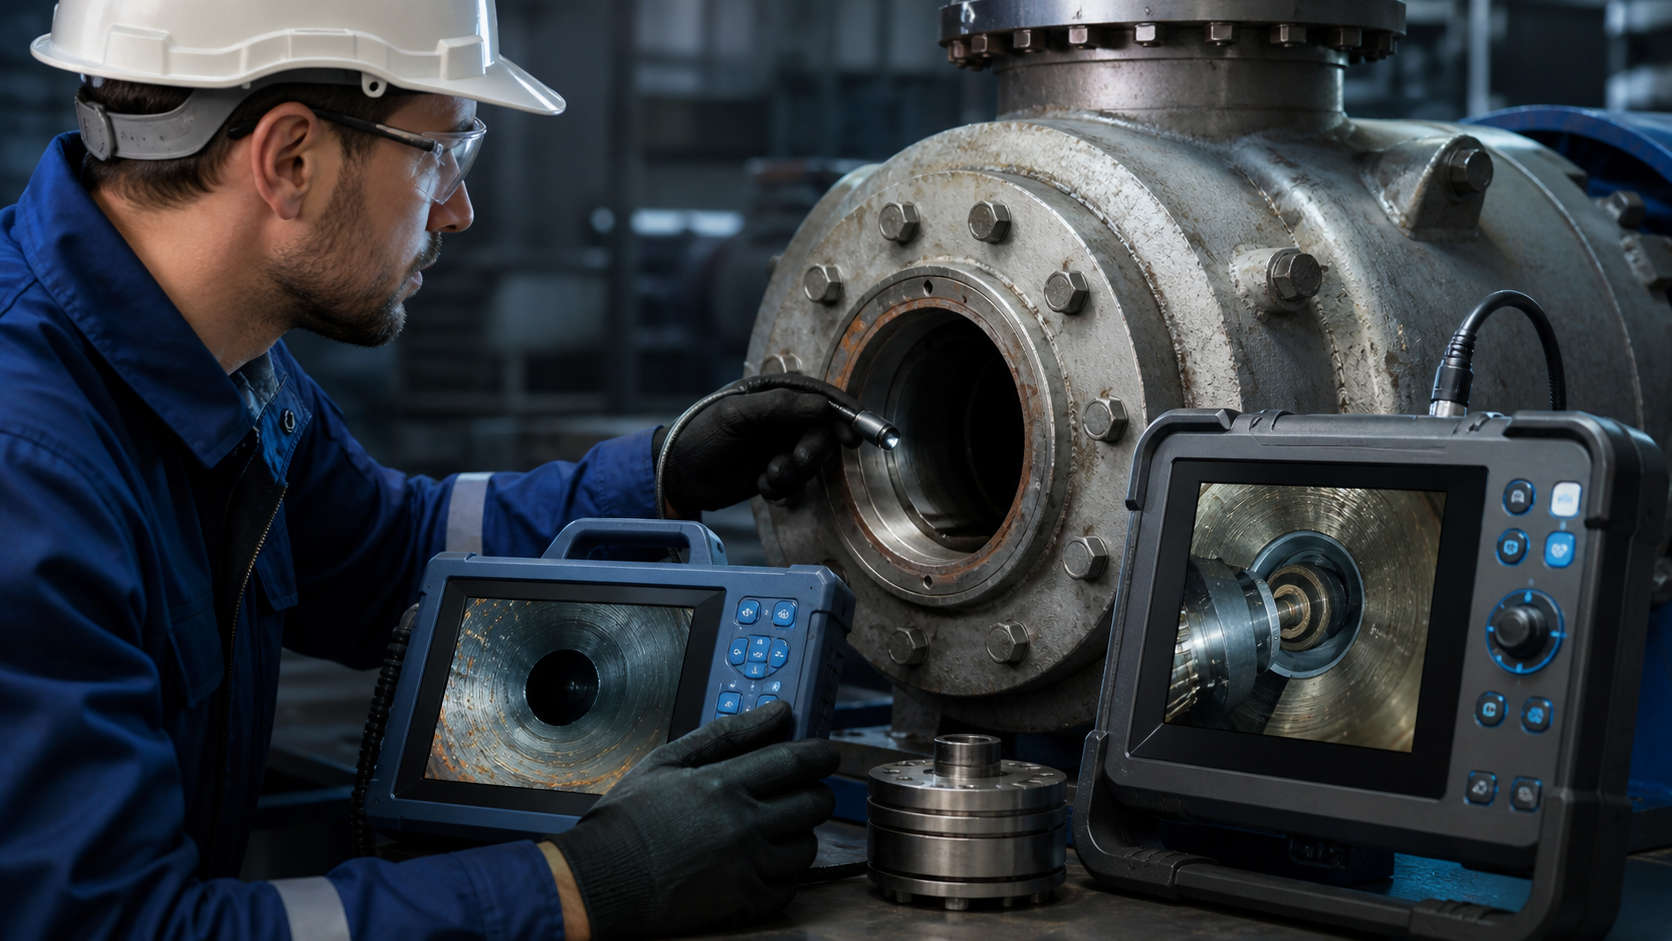
Start with the inspection task
Probe diameter, length and articulation should be selected from the access route and target geometry—not from display size alone. Define the smallest opening, insertion distance and viewing direction first.
Key selection questions
- What is the minimum access diameter and required working length?
- Is two-way or all-way articulation needed?
- Will the task require measurement, side-viewing or special lighting?
- How will images, video and reports be stored and reviewed?
Validate before purchase
Use a representative component or test piece during a demonstration. Confirm access, image quality, handling and documentation workflow with the people who will use the system.
Technical principle and inspection objective
The topic “Choosing the Right Industrial Borescope” should be approached as a complete inspection workflow rather than a single device operation. Key factors to consider before buying a borescope. Before work begins, the team should define the asset, access point, operating state, expected evidence and acceptance criteria. Optical quality, acoustic localization, route planning and documentation all influence whether a result is useful for engineering review. Clear objectives also prevent operators from collecting attractive images that cannot be connected to a location, condition or maintenance decision.
Preparation before inspection
Check equipment condition, battery level, probe or sensor surfaces, available storage, date and time settings, and the accessories required for the real environment. For a borescope, confirm articulation, illumination and a safe bending radius. For an acoustic camera, review background noise, working distance, frequency range and equipment load. Temperature, process media, moving parts and electrical hazards must be considered before access. A short functional test on a known target is a practical way to confirm focus, display, recording and localization before the formal route starts.
Field operating method
Follow a planned route and use repeatable viewing positions. Maintain a stable distance, control movement and avoid forcing a probe or rushing an acoustic scan. When an anomaly appears, record more than one close image. Capture the asset identifier, exact location, operating condition, orientation and an overview that allows another person to understand the context. Change angle, distance or parameters to confirm uncertain findings. Reflections, contamination, background sound and normal geometry can otherwise be mistaken for a defect or leak.
Reviewing the evidence
After capture, compare the evidence with maintenance history, process conditions and the applicable inspection criteria. A sharp image does not automatically prove a defect, and an acoustic hot spot identifies a source direction rather than the root cause by itself. Evidence should remain linked to location, time and operating state. Findings that could affect safety, quality or production continuity should be prioritized for verification, while ambiguous conditions should retain their original files and settings for a joint technical review.
Turning inspection into action
A useful report enables a person who was not present to understand where the condition exists, what supports the conclusion, how important it is and what should happen next. Include the route, equipment settings, representative evidence, assessment basis, recommended action and the result of any repair verification. Consistent records turn individual inspections into a condition history. Over time, that history supports preventive maintenance, spare-parts planning, shutdown scheduling and more dependable engineering decisions.